
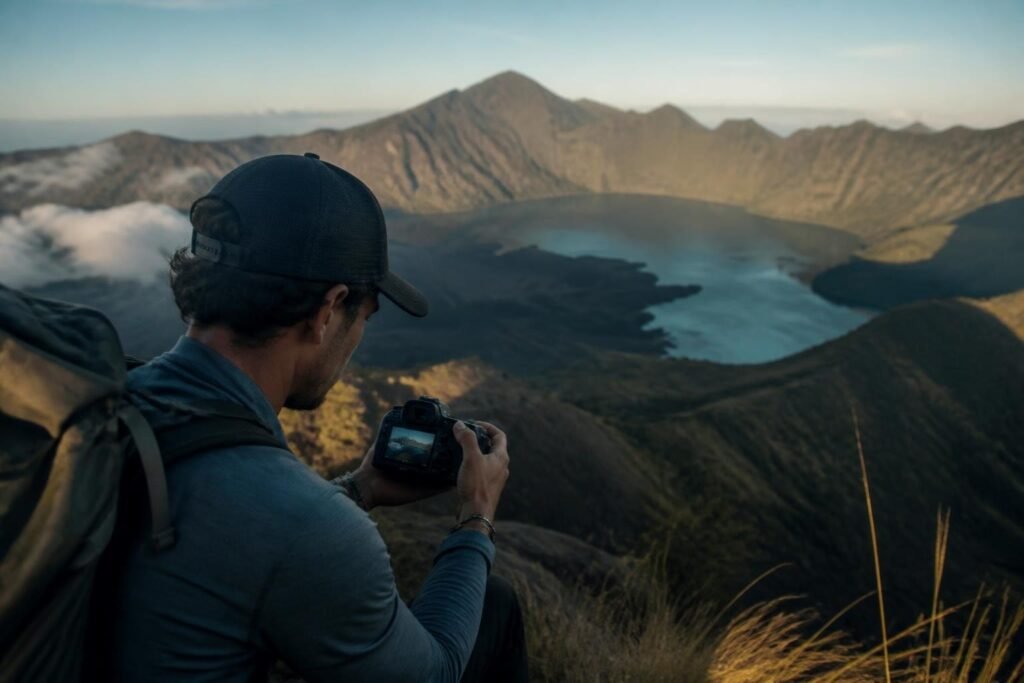
Capturing photos of hiking adventures transforms fleeting moments into lasting memories that tell the story of your journey. Whether you're ascending volcanic peaks, traversing lush tropical forests, or witnessing sunrise from a crater rim, photography adds an extra dimension to your trekking experience. The art of hiking photography combines technical skill with an appreciation for natural beauty, requiring you to balance the demands of the trail with the desire to document every breathtaking vista. For those planning to trek Mount Rinjani in Lombok, Indonesia, understanding how to capture stunning trail photographs ensures you'll return home with images that truly reflect the magnificence of your adventure.
Essential Gear for Capturing Photos of Hiking
Selecting the right photography equipment for your trek requires careful consideration of weight, functionality, and durability. Your camera gear must withstand challenging conditions while remaining light enough to carry comfortably during multi-day hikes.
Camera Selection and Protection
The camera you choose significantly impacts both image quality and your overall trekking experience. Mirrorless cameras offer an excellent balance between performance and portability, providing professional-quality images without the bulk of traditional DSLRs. Compact cameras and high-end smartphones have also become increasingly capable, making them viable options for hikers who prioritize minimal weight.
Weather-resistant camera bodies prove invaluable in mountain environments where conditions change rapidly. Sudden rain showers, morning mist, and volcanic dust all pose threats to sensitive electronics. Invest in quality protective gear including:
- Weather-sealed camera housing
- Moisture-absorbing silica packets
- Microfiber cleaning cloths
- Protective lens filters
- Durable camera straps with quick-release clips
A dedicated camera insert for your hiking backpack keeps equipment organized and accessible. Position it near the top of your pack so you can retrieve your camera quickly when photo opportunities arise without unpacking your entire bag.
Lens Choices for Mountain Photography
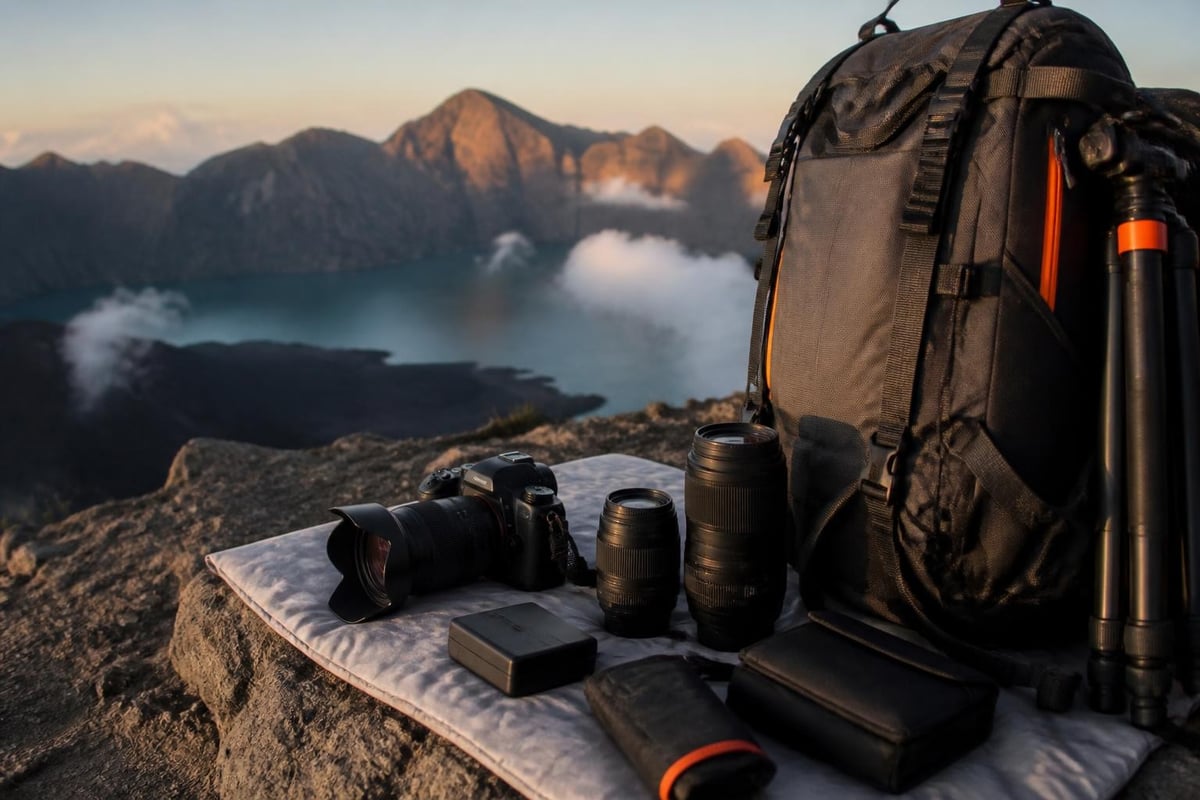
Versatility matters more than extensive lens collections when shooting photos of hiking. A single zoom lens covering a wide focal range reduces weight while providing flexibility for various compositions. The 24-70mm range works exceptionally well for landscape, portrait, and detail shots along the trail.
Wide-angle lenses (16-35mm) excel at capturing expansive vistas from crater rims and summit views. These lenses emphasize the scale and grandeur of mountain landscapes, making them particularly valuable for documenting the dramatic volcanic terrain of Mount Rinjani. Telephoto lenses (70-200mm) allow you to photograph distant wildlife, compress mountain layers, and isolate specific landscape elements.
| Lens Type | Focal Range | Best Use | Weight Consideration |
|---|---|---|---|
| Wide-angle | 16-35mm | Landscapes, crater views | Moderate |
| Standard zoom | 24-70mm | Versatile all-purpose | Moderate to Heavy |
| Telephoto | 70-200mm | Wildlife, details | Heavy |
| Prime | 35mm or 50mm | Low light, portraits | Light |
Consider bringing a lightweight prime lens for low-light situations at camp. A 35mm or 50mm prime with a wide aperture (f/1.8 or wider) performs well during sunrise and sunset shoots when light levels drop significantly.
Mastering Composition Techniques
Creating compelling photos of hiking requires more than simply pointing your camera at beautiful scenery. Strong composition transforms ordinary snapshots into memorable images that convey the emotion and excitement of your trekking adventure.
The Rule of Thirds and Beyond
The rule of thirds provides a foundational framework for balanced compositions. Imagine dividing your frame into nine equal sections using two horizontal and two vertical lines. Placing key elements along these lines or at their intersections creates visually appealing images that feel natural to viewers.
However, skilled photographers know when to break this rule. Centered compositions work beautifully for symmetrical subjects like reflections in crater lakes or perfectly framed mountain peaks. Experimenting with different compositional approaches helps you develop your unique photographic style.
Leading lines guide viewers' eyes through your photographs, creating depth and visual flow. Trails, ridgelines, streams, and volcanic rock formations all serve as natural leading lines that draw attention to your main subject. As noted in practical composition advice for outdoor photography, incorporating human elements provides scale and emotional connection to landscape images.
Incorporating Scale and Human Interest
Mountain landscapes can appear flat and dimensionless in photographs without proper scale references. Including hikers in your photos of hiking accomplishes multiple objectives simultaneously. Fellow trekkers provide size comparison that emphasizes the grandeur of volcanic peaks and deep valleys. They also add narrative interest, transforming static landscape shots into stories about adventure and exploration.
Position human subjects strategically within your frame:
- Place them on ridgelines silhouetted against the sky
- Show them navigating challenging terrain to convey difficulty
- Capture moments of rest that illustrate the journey's demands
- Include group interactions that demonstrate camaraderie
Environmental portraits combine landscape beauty with human presence. Photograph your trekking companions with expansive mountain views behind them, using wider apertures to keep faces sharp while softly blurring the background. These images serve as powerful reminders of both the place and the people who shared your adventure.
Optimizing Light for Mountain Photography
Understanding and utilizing natural light separates exceptional hiking photographs from mediocre snapshots. Mountain environments offer unique lighting conditions that change dramatically throughout the day, creating diverse photographic opportunities.
Golden Hour Magic
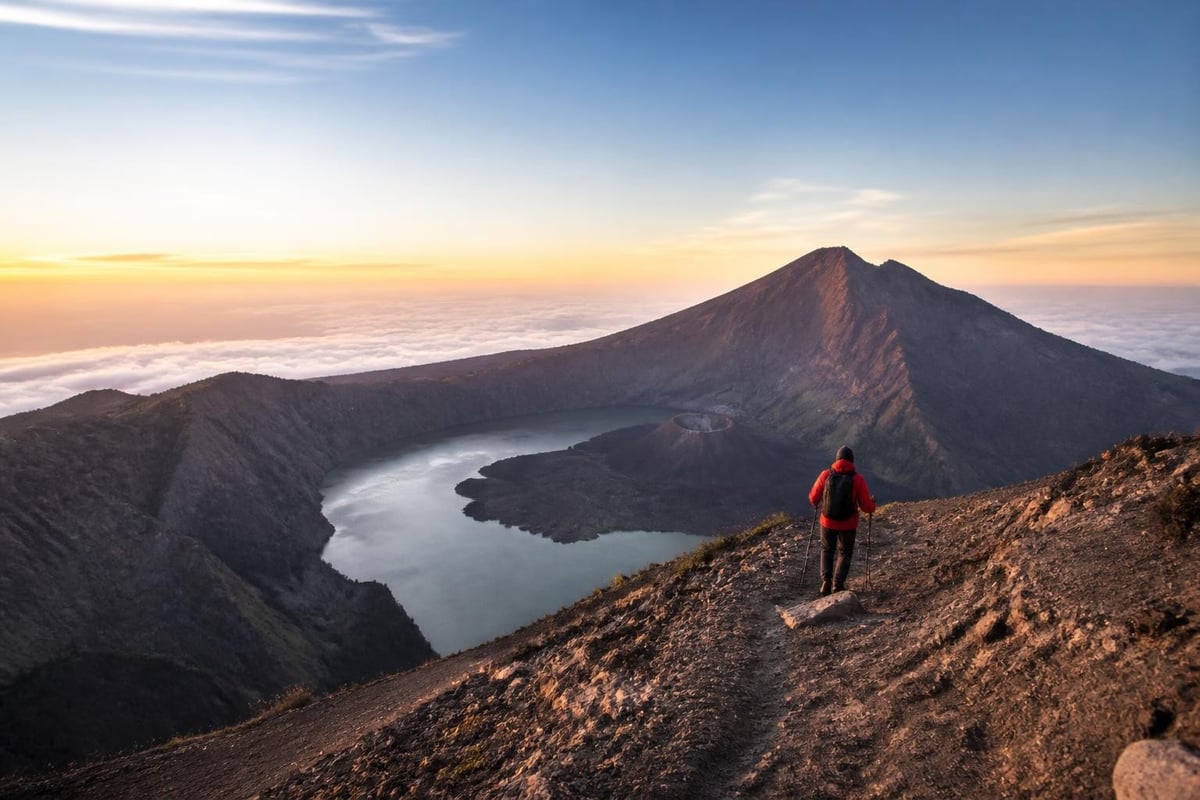
The golden hour, occurring shortly after sunrise and before sunset, provides the most flattering light for photos of hiking. Warm, soft illumination enhances colors, reduces harsh shadows, and adds dimensional quality to landscape features. On Mount Rinjani, sunrise from the crater rim presents spectacular golden hour opportunities as morning light illuminates Lake Segara Anak and surrounding peaks.
Wake early to capture pre-dawn blue hour moments when the sky transitions from deep blue to warm orange. This brief period offers unique color palettes and balanced exposures between sky and landscape. Sunset golden hour works equally well, though afternoon clouds sometimes obscure views in tropical mountain regions.
Planning your daily trekking schedule around optimal light conditions requires coordination with your hiking itinerary. The 2D1N Crater Rim – Summit package times summit attempts for sunrise, positioning you perfectly to capture stunning first light photographs from Mount Rinjani's 3,726-meter peak while still maintaining a reasonable trekking timeline.
Managing Challenging Midday Light
Midday sun creates harsh shadows and blown highlights that challenge even experienced photographers. Rather than avoiding photography during these hours, adapt your approach to work with available light conditions.
Seek shaded areas under forest canopy where diffused light illuminates subjects evenly. Close-up shots of volcanic rock textures, native flora, and trail details work well in midday conditions. Increase your ISO setting and use faster shutter speeds to capture action shots of hikers navigating steep terrain.
Cloudy conditions, while disappointing for summit views, actually improve photographic opportunities. Overcast skies act as natural diffusers, providing even illumination perfect for detailed landscape photography. Embrace cloudy weather as an opportunity rather than an obstacle.
Technical Camera Settings for Trail Photography
Proper camera configuration ensures sharp, well-exposed photos of hiking regardless of changing environmental conditions. Understanding how aperture, shutter speed, and ISO work together allows you to respond quickly to photographic opportunities without missing critical moments.
Exposure Triangle Fundamentals
Balancing the exposure triangle represents photography's core technical challenge. Aperture controls depth of field and light intake, shutter speed freezes or blurs motion, and ISO determines sensor sensitivity. Adjusting one element requires compensating with others to maintain proper exposure.
For landscape photography, smaller apertures (f/8 to f/16) maximize depth of field, keeping foreground and background elements sharp. This approach works best when photographing expansive crater views or layered mountain ranges. However, smaller apertures require slower shutter speeds or higher ISO settings to achieve proper exposure.
| Scenario | Aperture | Shutter Speed | ISO |
|---|---|---|---|
| Landscape (tripod) | f/11-f/16 | 1/30s or slower | 100-400 |
| Landscape (handheld) | f/8-f/11 | 1/125s or faster | 400-1600 |
| Action/hiking | f/4-f/8 | 1/500s or faster | 800-3200 |
| Low light/stars | f/2.8-f/4 | 15-30s | 3200-6400 |
Action shots require faster shutter speeds (1/500s or quicker) to freeze hiking motion. Open your aperture wider and increase ISO to maintain proper exposure while achieving motion-stopping shutter speeds. Modern cameras handle ISO 1600-3200 remarkably well, producing clean images even in challenging light.
Focus Techniques for Sharp Images
Manual focus provides maximum control when shooting landscape photos of hiking, allowing you to select exact focus points for optimal sharpness. Focus approximately one-third into your scene when using smaller apertures to maximize depth of field throughout the frame. This technique, combined with hyperfocal distance calculations, ensures sharpness from immediate foreground through distant backgrounds.
Back-button focusing separates focus control from the shutter release, improving accuracy and speed. Configure your camera to focus when you press a rear button while the shutter button only triggers exposure. This setup prevents accidental focus changes and allows you to lock focus for multiple compositions of the same scene.
Continuous autofocus (AF-C) tracks moving subjects, making it ideal for photographing fellow hikers traversing challenging terrain. Center your focus point on your subject and let the camera maintain sharpness as they move through the frame. Adventure photography techniques emphasize the importance of anticipating action and maintaining focus on key moments that tell compelling stories.
Smartphone Photography for Hikers
Smartphones have revolutionized hiking photography by putting capable cameras in everyone's pocket. Modern phone cameras rival dedicated cameras for many applications, offering distinct advantages for trekkers concerned about weight and complexity.
Maximizing Phone Camera Capabilities
Computational photography allows smartphones to overcome hardware limitations through software processing. Features like HDR mode, night mode, and portrait mode produce results that previously required expensive equipment and advanced editing skills. Understanding these features helps you capture better photos of hiking using only your phone.
HDR (High Dynamic Range) mode combines multiple exposures to balance bright skies and dark foreground shadows. This proves particularly useful when photographing from shaded forest trails toward bright mountain peaks. Night mode extends exposure times while stabilizing images, enabling handheld low-light photography that would normally require tripods.
Smartphone photography advantages:
- Minimal weight and bulk
- Always accessible in pocket
- Instant sharing capabilities
- Advanced computational features
- Weather resistance (many models)
- Wide-angle and telephoto options (multi-lens phones)
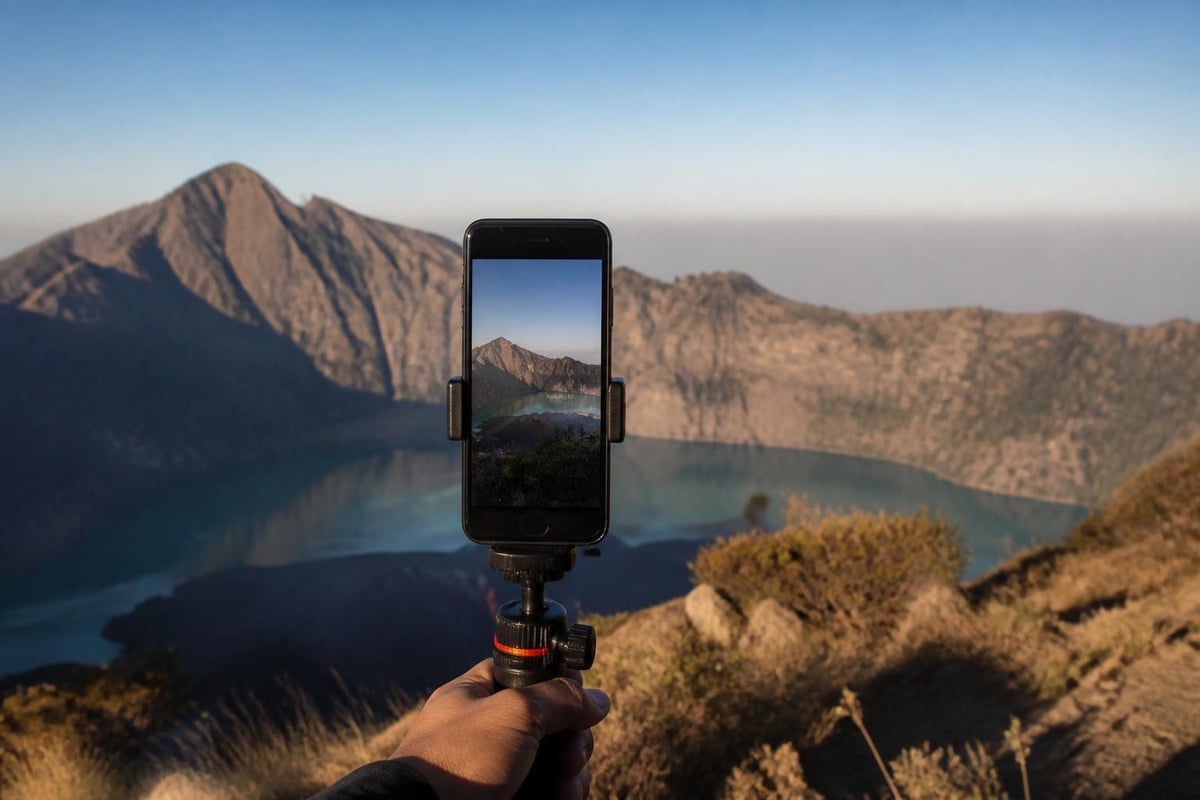
Invest in a quality phone mount for lightweight tripods or flexible clamps. These accessories enable long exposures, time-lapse sequences, and self-portraits that would otherwise require assistance. Portable battery packs ensure your phone maintains charge throughout multi-day treks when electrical outlets remain unavailable.
Third-Party Camera Apps
Native smartphone camera apps provide basic functionality, but third-party applications unlock advanced controls that serious photographers require. Apps offering manual exposure control, RAW capture, and focus peaking bridge the gap between phone and dedicated camera capabilities.
RAW format preserves maximum image data, providing flexibility during post-processing. While RAW files consume more storage space, they allow significant adjustments to exposure, color, and detail without degrading image quality. Shoot both RAW and JPEG simultaneously when storage permits, giving you options for quick sharing (JPEG) and detailed editing (RAW).
Manual control over shutter speed, ISO, and white balance lets you adapt to challenging lighting conditions that confuse automatic modes. Lock exposure and focus separately to prevent unwanted changes as you compose your shots. These capabilities transform smartphones into legitimate tools for serious photos of hiking.
Storytelling Through Sequential Photography
Individual photographs capture single moments, but sequences tell complete stories of your hiking adventure. Approaching photography with narrative intention creates collections that communicate the full scope of your trekking experience.
Documenting the Journey Arc
Every hike follows a narrative structure with beginning, middle, and end. Consciously photograph each stage to build a comprehensive visual story. Capture preparation shots at the trailhead showing your group, equipment checks, and initial excitement. Document challenging sections that test your endurance and intermediate milestones that mark progress.
Summit or destination photographs represent the climax of your journey, but don't neglect the descent and conclusion. Photos showing tired but satisfied hikers, final views, and return to civilization complete the narrative. This comprehensive approach produces photo collections that others can experience vicariously through your images.
Create environmental context shots that establish location and conditions:
- Wide establishing shots showing the full mountain
- Medium shots of specific trail sections and landscapes
- Close-ups of unique geological or botanical features
- Detail shots of equipment, food, and camp life
- Portrait images capturing human experiences and emotions
Capturing Authentic Moments
Candid photography often produces more compelling images than posed shots. Photograph fellow hikers engaged in natural activities rather than staring at the camera. Wait for genuine smiles, concentrated expressions during difficult climbs, and spontaneous interactions between group members.
Documentary-style photography requires patience and observation. Anticipate interesting moments before they occur by understanding hiking rhythms and human behavior. Position yourself advantageously when you notice developing situations like hikers approaching scenic viewpoints or navigating technical terrain.
Balance candid and posed photography throughout your trek. While authentic moments tell better stories, group portraits and intentional compositions serve important purposes for commemorating shared experiences. Mix both approaches for well-rounded photo collections.
Post-Processing and Organization
Photographing your hike represents only half the creative process. Effective editing and organization transform raw captures into polished images while ensuring you can locate specific photos years later.
Field-Based Organization Strategies
Establish organizational systems during your trek rather than facing overwhelming sorting tasks afterward. Many cameras and phones add GPS coordinates to image metadata, automatically tagging photos with location information. Enable this feature to remember exactly where each photograph was captured.
Create daily folders or albums corresponding to each trekking day. This simple chronological organization provides a framework for later detailed sorting. Add star ratings or flags to standout images while memories remain fresh, identifying your best shots for priority editing.
Back up photos regularly throughout multi-day treks. Bring sufficient memory cards to avoid deleting images in the field, and consider portable hard drives or cloud backup via mobile data when available. Losing photos to equipment failure or accidental deletion after investing effort in capturing them creates devastating disappointment.
Essential Editing Techniques
Basic editing enhances photos of hiking without creating unrealistic results. Adjust exposure, contrast, and color balance to match the scene as you experienced it. Outdoor photography often benefits from increased vibrance, sharpening, and slight contrast boosts that compensate for atmospheric haze common in mountain environments.
Crop thoughtfully to improve composition, removing distracting elements and strengthening focal points. Straighten horizons that appear tilted in handheld shots. Field-tested photography improvement tips emphasize getting composition right in-camera, but strategic cropping rescues nearly great shots.
Develop consistent editing styles that give your photo collections cohesive visual identity. Create and save presets for common scenarios like sunrise, forest trails, and summit views. Applying these presets as starting points speeds workflow while maintaining stylistic consistency across your hiking photography portfolio.
Ethical and Environmental Considerations
Responsible photography practices protect fragile mountain ecosystems while respecting fellow hikers and local communities. Your pursuit of perfect photos of hiking should never compromise environmental integrity or safety.
Leave No Trace Principles
Minimize your photographic impact on natural environments by following established Leave No Trace guidelines. Stay on designated trails rather than venturing into fragile vegetation for different angles. Avoid disturbing wildlife for closer shots, using telephoto lenses to photograph animals from safe distances instead.
Remove all photography accessories and trash from locations where you shoot. Tripods, camera bags, and lens caps accidentally left behind constitute litter that degrades wilderness experiences for others. Account for all equipment before leaving each shooting location.
Respect vegetation and geological features by never moving or arranging natural elements for better compositions. The perfect photograph never justifies damaging ecosystems that took decades or centuries to develop. Work within existing conditions rather than modifying environments to suit photographic preferences.
Respecting Cultural Sensitivities
Mount Rinjani holds sacred significance for local communities who consider the mountain a holy site. Photograph cultural sites and ceremonies respectfully, always asking permission before capturing images of people, religious structures, or ceremonial activities. Some locations may prohibit photography entirely during specific times or events.
Learn basic etiquette regarding acceptable photography subjects and contexts. Understanding local perspectives prevents unintentional offense and demonstrates respect for communities that call these mountains home. Your photos should honor rather than exploit the places and cultures you document.
Share the trail courteously with other hikers by avoiding photography behaviors that obstruct pathways or delay groups. Step aside when setting up tripods, and be efficient with compositions when others wait for their turn at popular viewpoints. The collective experience of all trekkers matters more than any single photograph.
Mastering the art of hiking photography enriches your trekking adventures while creating lasting visual memories of spectacular mountain landscapes. By combining proper equipment selection, technical proficiency, and creative composition with ethical practices, you'll capture photos of hiking that authentically represent your journey. When you're ready to experience the dramatic volcanic terrain of Mount Rinjani firsthand, Hiking Mount Rinjani provides experienced guides, quality equipment, and carefully planned itineraries that give you ample opportunities to photograph one of Indonesia's most spectacular trekking destinations while ensuring environmental stewardship and trekker safety throughout your adventure.