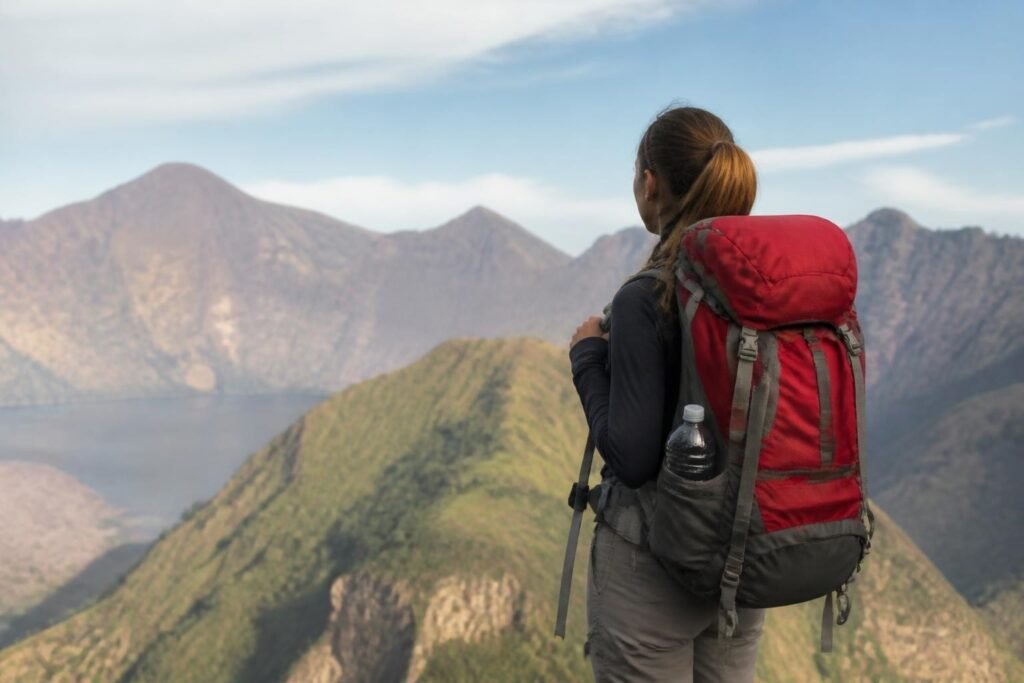
Mountain packing requires careful planning, strategic organization, and an understanding of what you truly need for a successful trek. Whether you're preparing for a multi-day journey to Mount Rinjani's summit or a shorter crater rim adventure, how you pack your gear can determine the difference between an enjoyable experience and an exhausting struggle. The key is finding the perfect balance between carrying essential items and minimizing unnecessary weight. Every item should earn its place in your pack, and every placement should serve a purpose. This comprehensive guide will walk you through the essential strategies and techniques for mountain packing that experienced trekkers use to ensure comfortable, safe, and memorable adventures.
Understanding Mountain Packing Fundamentals
Mountain packing differs significantly from casual day hiking or travel packing. When you're ascending to elevations above 3,700 meters on Mount Rinjani, every kilogram matters. Your body works harder at altitude, and unnecessary weight can quickly drain your energy reserves.
The foundation of effective mountain packing rests on four core principles:
- Weight distribution – Heavier items positioned close to your spine and centered in your pack
- Accessibility – Frequently needed items within easy reach without unpacking everything
- Weather protection – Critical gear protected from rain and moisture at all times
- Balance – Equal weight distribution from left to right to prevent strain
The Weight-to-Comfort Ratio
Professional guides recommend keeping your pack weight between 15-20% of your body weight for multi-day treks. For a 70-kilogram person, this translates to approximately 10.5-14 kilograms. However, this is a guideline, not a rigid rule. Beginners often struggle with distinguishing between essentials and "nice-to-haves."
Strategic Layering System for Mountain Packing
Your packing strategy should mirror how you'll access items throughout your trek. Think of your backpack as having distinct zones, each serving a specific purpose during different phases of your journey.
Bottom Compartment Essentials
The bottom section of your pack should house items you'll only need at camp or during extended breaks. This typically includes your sleeping bag, down jacket, and camp shoes. Many modern backpacks feature a separate bottom compartment with a zipper access panel, making these items accessible without disturbing your main compartment.
| Item Category | Placement Rationale | Access Frequency |
|---|---|---|
| Sleeping bag | Bottom compartment | Evening only |
| Down jacket | Bottom/middle | Camp and summit |
| Extra clothing | Bottom wrapped around sleeping bag | As needed |
| Camp footwear | Very bottom | Evening only |
Core Zone Packing Strategy
The middle section represents your pack's power zone. This is where proper backpack packing techniques truly matter. Place your heaviest items here, positioned close to your back and centered vertically. This might include your cooking system, stove, fuel, food supplies, and water reservoir.
Key items for the core zone:
- Cooking equipment and fuel canisters
- Main food supplies organized in stuff sacks
- Water bladder or reservoir system
- Tent body (if carrying your own shelter)
- Emergency supplies and medical kit
For Mount Rinjani treks, water management becomes critical. Between the crater rim and the lake, water sources are limited, requiring careful planning. Your hydration system should be easily accessible while maintaining proper weight distribution.
Top Compartment and Quick-Access Items
The upper portion of your pack should contain items you'll need throughout the day. Rain gear deserves prime real estate here, as weather on Mount Rinjani can change rapidly, especially during the trekking season. Your top compartment should also house your insulating layers, first-aid kit, and lunch supplies.
Essential Mountain Packing Categories
Breaking down your gear into specific categories helps ensure nothing gets forgotten while preventing overpacking. Each category serves a distinct purpose in maintaining comfort, safety, and self-sufficiency during your trek.
Shelter and Sleep System
Your shelter system includes your tent, sleeping bag, and sleeping pad. These items collectively represent a significant portion of your pack's volume and weight. When selecting and packing these items, consider the specific conditions you'll encounter.
Mount Rinjani's summit area can drop below freezing, particularly during the dry season from May through October. Your sleeping bag should be rated appropriately, typically 0°C to -5°C comfort rating. Compression stuff sacks reduce volume significantly, allowing you to maximize space efficiency.
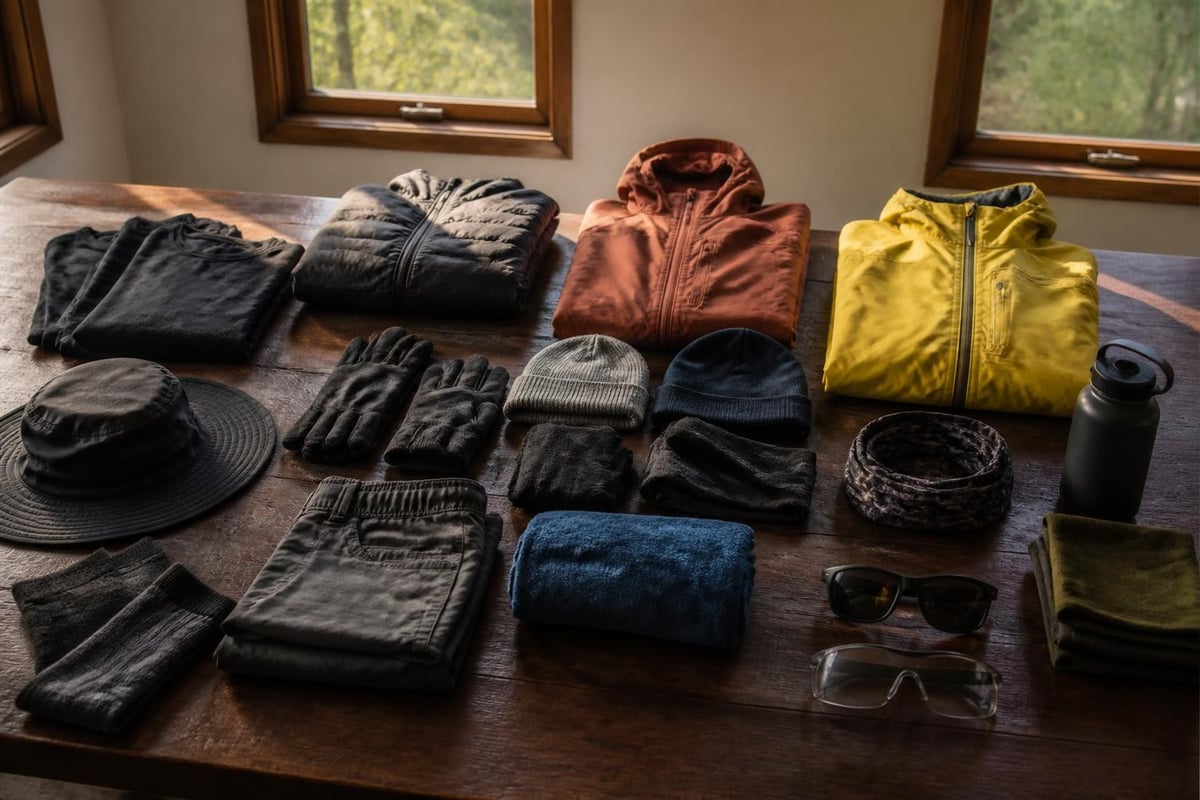
Clothing and Layering System
Mountain packing for clothing follows the proven layering principle: base layers for moisture management, insulating layers for warmth, and shell layers for weather protection. The challenge lies in bringing enough versatility without excess redundancy.
Essential clothing layers:
- Moisture-wicking base layers (2 sets maximum)
- Insulating mid-layers (fleece or lightweight down)
- Waterproof and windproof shell jacket
- Waterproof pants or rain trousers
- Warm hat, sun hat, and gloves
- Extra socks (3 pairs for multi-day treks)
Many trekkers overpack clothing, bringing a fresh outfit for each day. This approach adds unnecessary weight. On a three-day trek, you can comfortably manage with one set of worn clothing and one clean set for sleeping.
Navigation and Safety Equipment
Safety equipment deserves careful consideration in your mountain packing strategy. While experienced guides lead most Mount Rinjani treks, personal preparedness remains essential. Your safety category should include headlamps with extra batteries, a basic first-aid kit, sunscreen, and personal medications.
The timing of your Rinjani trek influences what safety equipment takes priority. During the wet season, waterproofing becomes paramount. During peak dry season, sun protection and hydration management take precedence.
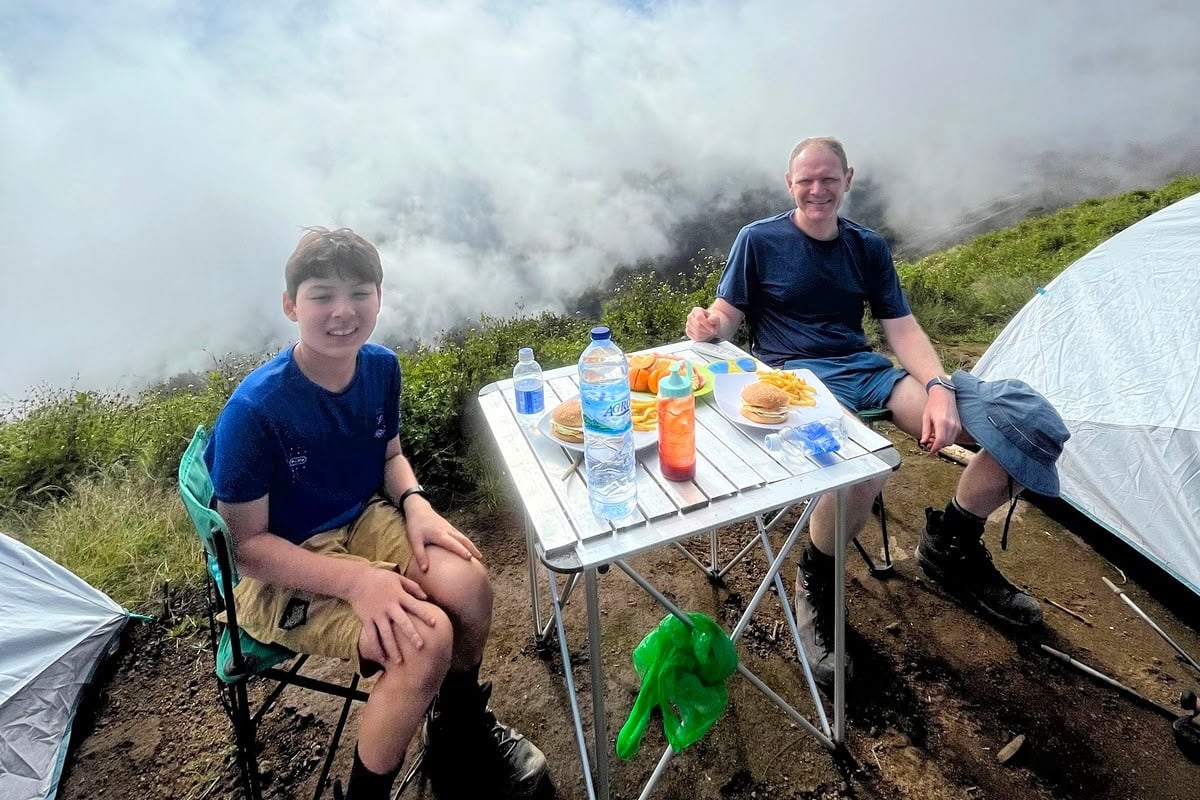
Food and Water Management
Proper nutrition and hydration planning significantly impacts your mountain packing efficiency. Calculate your caloric needs based on trek duration and intensity, then pack accordingly. High-calorie, lightweight foods maximize energy while minimizing pack weight.
Daily Caloric Requirements
Trekking at altitude burns approximately 3,500-5,000 calories per day, depending on your pace, body weight, and terrain difficulty. Your food selection should prioritize calorie density, preparation simplicity, and palatability at altitude.
Optimal food choices for mountain packing:
- Breakfast: Instant oatmeal, granola, dried fruits
- Lunch: Energy bars, nuts, dried meat, cheese
- Dinner: Dehydrated meals, instant noodles, rice dishes
- Snacks: Trail mix, chocolate, energy gels
Organizing food by meal type and day simplifies access and prevents overuse early in your trek. Many experienced trekkers use labeled stuff sacks or ziplock bags to separate each day's rations.
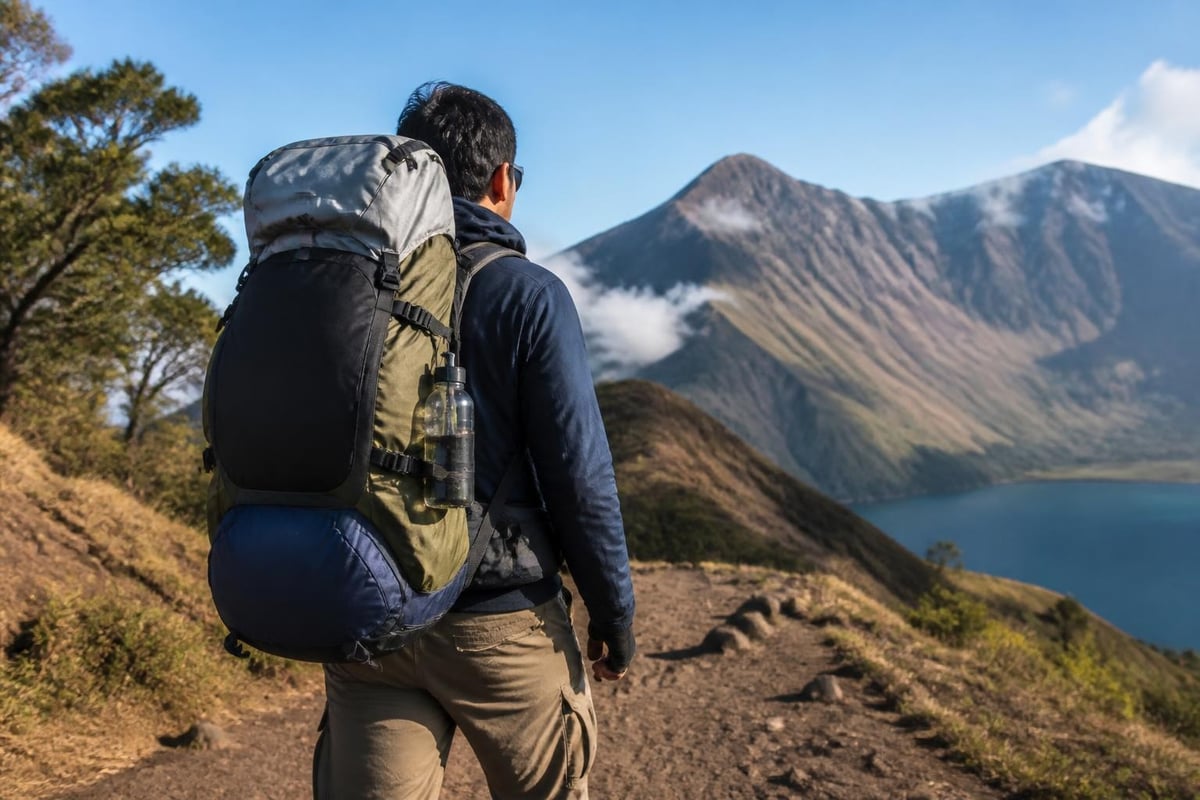
Water Carrying Strategy
Water represents the heaviest essential item you'll carry. A liter of water weighs one kilogram, making water management crucial for mountain packing efficiency. On Mount Rinjani, water sources exist at specific points along most routes, allowing you to refill rather than carrying all water from the start.
| Trek Section | Water Availability | Recommended Carry |
|---|---|---|
| Starting trailhead to crater rim | Limited sources | 2-3 liters |
| Crater rim to Segara Anak Lake | Lake water available | 1-2 liters |
| Lake to summit attempt | No sources | 2-3 liters |
| Descent sections | Periodic sources | 1.5-2 liters |
Planning a multi-day Rinjani adventure with an extra night at Segara Anak Lake provides more flexibility with water management, as you'll have reliable access to lake water that can be filtered or treated. This extended itinerary also allows you to distribute weight more comfortably since you're not rushing to complete the trek.
Technical Packing Techniques
Beyond what you pack, how you pack determines your comfort and efficiency on the trail. Professional mountain guides develop systematic packing routines that ensure consistency and completeness for every trek.
Compression and Space Optimization
Compression techniques maximize your pack's carrying capacity. Stuff sacks compress soft items like clothing and sleeping bags, while dry bags provide both compression and waterproofing. The key is achieving compression without creating rigid, awkward shapes that prevent efficient packing.
Compression strategies by item type:
- Sleeping bags – Use compression stuff sacks and pack from bottom up
- Clothing – Roll items tightly rather than folding to reduce air pockets
- Down jackets – Compress only when packed, allow to expand when stored
- Food bags – Remove excess packaging and consolidate into shared containers
External Attachment Considerations
External attachment points on your backpack serve specific purposes, but overusing them creates imbalance and snagging hazards. Items like trekking poles, sleeping pads, and occasionally tents can be attached externally when internal space is maximized.
Detailed packing recommendations for high-altitude treks emphasize keeping weight inside your pack whenever possible. External items shift your center of gravity and can catch on vegetation or rocks along narrow trail sections.
Weather-Specific Mountain Packing Adjustments
Mount Rinjani's weather patterns vary significantly by season and elevation, requiring adaptable mountain packing strategies. The volcanic terrain creates microclimates, with dramatically different conditions between the forested lower slopes and exposed summit areas.
Dry Season Considerations (May-October)
During the dry season, your mountain packing priorities shift toward sun protection, dust management, and adequate hydration supplies. While rain gear remains essential for unexpected weather changes, you can reduce the bulk of waterproofing systems.
Temperature variations remain extreme, with hot daytime conditions and freezing summit temperatures. Your packing strategy should accommodate rapid clothing changes without disrupting your pack's organization.
Wet Season Preparation (November-April)
Wet season mountain packing demands comprehensive waterproofing. Pack liners, dry bags, and external rain covers become critical. Every item that cannot tolerate moisture should be double-bagged, including electronics, sleeping bags, and clothing.
Gear Maintenance and Pre-Trek Preparation
Successful mountain packing begins before you reach the trailhead. Testing, maintaining, and organizing your gear at home prevents problems on the mountain. Create a detailed checklist organized by category, and physically lay out all items before packing.
The Shake-Down Hike
Experienced trekkers conduct shake-down hikes with their fully loaded packs before major expeditions. This practice reveals packing inefficiencies, uncomfortable weight distribution, and forgotten items while you still have time to adjust.
Key elements to test during shake-down hikes:
- Pack weight and comfort over 2-3 hours of hiking
- Accessibility of frequently needed items like water, snacks, and rain gear
- Balance and stability on uneven terrain
- Adjustment system effectiveness as you warm up or cool down
Specialized Equipment for Rinjani Treks
Mount Rinjani's volcanic terrain presents unique challenges that influence your mountain packing decisions. The loose volcanic scree near the summit requires specific footwear considerations, while the lake descent demands adequate knee support and traction.
Technical Gear Considerations
Beyond standard hiking equipment, Rinjani treks benefit from specialized items. Gaiters protect against volcanic dust and small rocks entering your boots. Trekking poles significantly reduce knee strain during the steep descent from the crater rim. A quality headlamp with backup batteries enables safe navigation during pre-dawn summit attempts.
| Equipment Item | Purpose | Weight Impact | Priority Level |
|---|---|---|---|
| Gaiters | Volcanic dust protection | 200-300g | High |
| Trekking poles | Stability and knee support | 400-600g | High |
| Water filter/treatment | Safe water from lake sources | 100-200g | Medium |
| Emergency whistle | Safety signaling | 10-20g | High |
The comprehensive gear lists for challenging peaks emphasize the importance of quality over quantity. One reliable piece of equipment serves better than multiple substandard alternatives.
Photography Equipment Balance
Many trekkers struggle with balancing their desire to capture memories with the weight penalty of camera equipment. Modern smartphones provide excellent image quality while minimizing weight, but dedicated cameras offer superior low-light performance for sunrise summit photography.
If carrying camera gear, protect it obsessively. Use dedicated camera inserts or padded cases within your pack, and keep equipment in dry bags. Position camera gear in easily accessible locations for quick deployment without full pack removal.
Final Packing Checklist and Organization
Creating a systematic packing routine ensures consistency across multiple treks. Develop a personalized checklist that evolves based on experience, season, and trek duration. Digital checklists work well, but physical laminated cards resist weather and battery failures.
The Night-Before System
Pack your backpack the evening before your trek begins, not the morning of departure. This provides time to adjust, add forgotten items, and sleep with confidence that you're prepared. Place your pack by the door with trekking poles, boots, and any items that don't need to be packed until morning.
Last-minute additions on trek morning:
- Fresh food items that require refrigeration
- Fully charged electronics and battery banks
- Passport or identification documents
- Cash for porter tips or emergency needs
Weight Distribution and Fitting
Even perfectly selected gear becomes burdensome when improperly distributed or fitted. Your backpack should feel like an extension of your body, not an external burden fighting against your movement. Proper fitting starts with adjusting your hip belt to carry 70-80% of the pack's weight on your hips rather than shoulders.
Modern backpacks include multiple adjustment points: shoulder straps, hip belt, load lifters, and sternum strap. Each serves a specific purpose in weight distribution and stability. The comprehensive packing techniques from mountain professionals emphasize that proper adjustment matters as much as proper packing.
Load Adjustment During Your Trek
Your pack's optimal configuration at the trailhead may require adjustment as you progress. As you consume food and water, weight decreases and shifts. Periodically stop to readjust straps and redistribute remaining items to maintain balance. During breaks, slightly loosen your hip belt and shoulder straps to restore circulation.
Experienced guides often recommend major repack sessions at basecamp or significant rest points. This provides opportunity to assess what you've used, what remains deadweight, and how consumption patterns have shifted your pack's center of gravity.
Mastering mountain packing transforms your trekking experience from mere endurance to genuine enjoyment. By implementing these strategies for gear selection, weight distribution, and systematic organization, you'll tackle challenging terrain with confidence and comfort. When you're ready to put these mountain packing principles into practice, Hiking Mount Rinjani provides expertly guided treks with experienced professionals who understand how proper preparation creates successful adventures. Their comprehensive packages include quality equipment and knowledgeable guides who ensure your Rinjani journey becomes a cherished memory rather than a struggle against your backpack.